Configure Azure Active Directory
Log in to Azure AD.
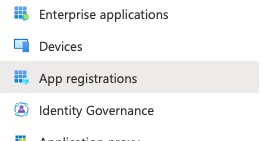
On the left menu choose App registrations:
Then press New registration:

Registering SwiftMQ Explorer App
In this example, we will configure SwiftMQ Explorer App for SSO.
Register the App
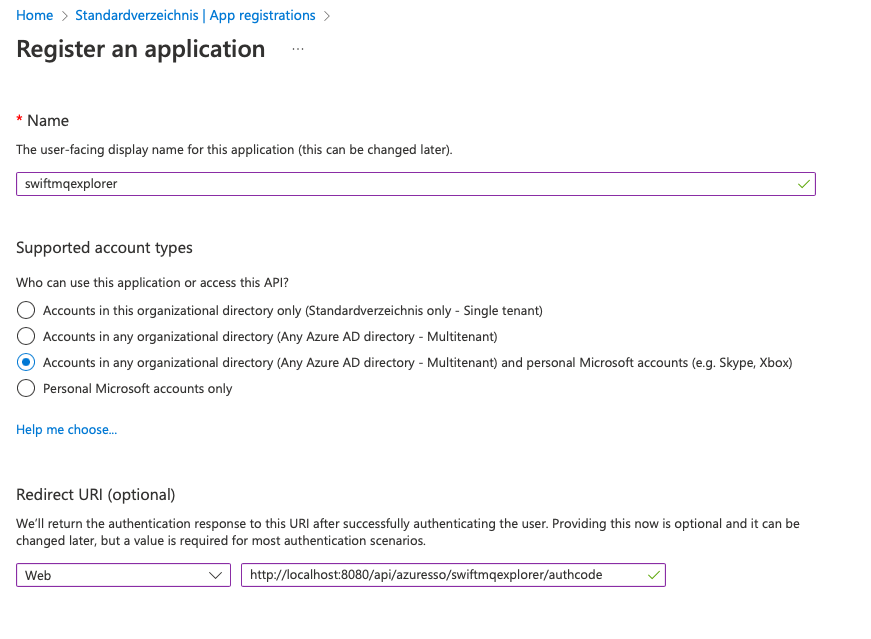
Use the internal name of the SwiftMQ Explorer App which is
swiftmqexplorer.Choose the supported account types (depending on your organization).
As Redirect URI choose
Web.The redirect URI is the URI where Azure AD sends an authorization code and an ID Token.
This URI consists of the protocol (
http://orhttps://), and hostname (and optional port) of the Flow Director instance. It must be the URI that users use to connect to the Flow Director instance.The rest of the URI is
/api/azuresso/<appname>/authcodewhere<appname>is the internal name of the Flow Director app, i.e.,swiftmqexplorer.
Press Register at the bottom of the page to finish the registration.
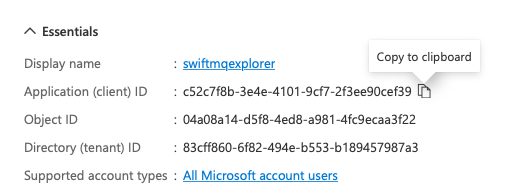
Save the Client ID
On the registration page save the Client ID:
Create a Secret
On the registration page click on Add a certificate or secret:

Click on New client secret:

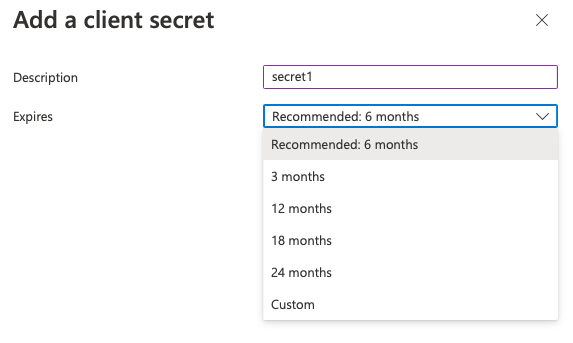
On the right pane choose the name of that secret and the expiration:
Important:
The secret and the Client ID will be used from the Azure SSO app to access Azure AD. Since the secret expires after the time your choose above, you need to set yourself a reminder to create a new secret and configure it in Azure SSO. Otherwise, the access to Azure AD will be rejected and your users can’t log in anymore.
Hit Add to create the secret.
On the overview page copy the value of the secret and save it:

Note that you can only copy the value once after you have created the secret.
Create App Roles
App roles are the way to assign app grants to users. These grants are passed to the Azure SSO app as part of an ID Token and are used from it to configure the user’s menu of the final Flow Director app. For SwiftMQ Explorer app, also the configuration of the user’s view and whether the user is read-only (can issue change commands or not) takes place.
In the left menu choose App roles:

Then press Create app role:

In the right pane configure the app role:
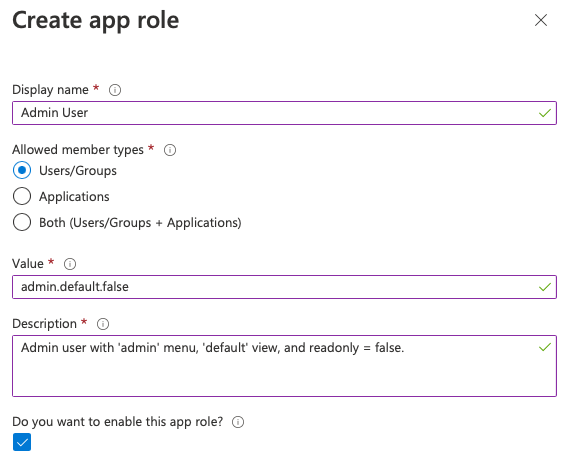
The above is the app role of an admin user.
You can use any display name, we use
Admin User.Allowed member types must be set to Users/Groups.
The Value is passed to the Azure SSO app as part of the ID Token. It consists of three parts, delimited by a period:
<menu>.<view>.<readonly>. The<menu>part specifies the menu name assigned to the user. In our case this isadmin. The<view>part specifies the name of the view assigned to the user. In our case, we use thedefault(unlimited) view. The last part is a boolean to specify whether the user has read-only access. In our case this isfalse.The
<view>.<readonly>part is only required for SwiftMQ Explorer app. For all other apps specify the<menu>only.
Click on Apply to create the app role.
Let’s create another app role:
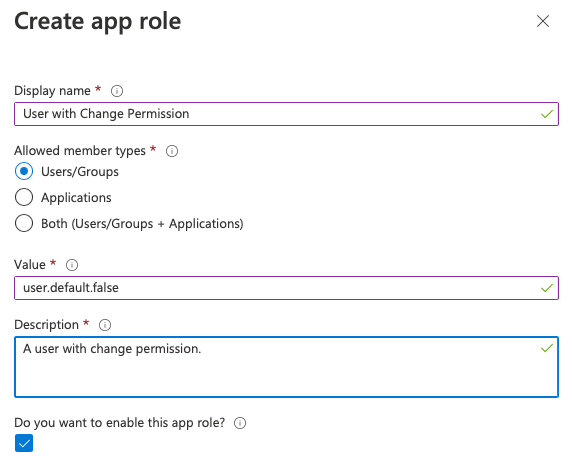
This is a user that has the menu user, the default view, and is not read-only. Menu user differs from the admin menu to exclude the App Configuration sub-menu. They only see the explorer.
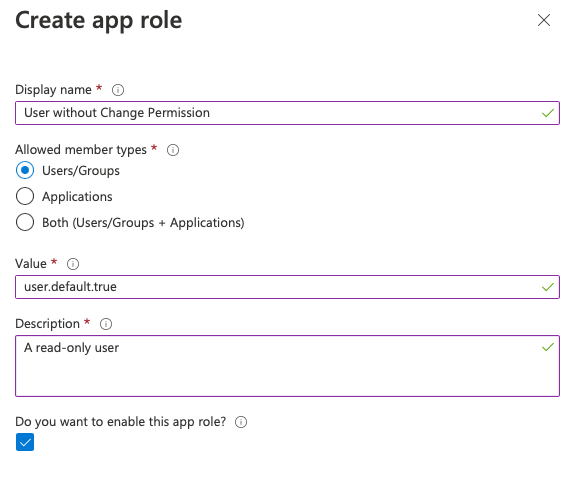
Create another app role for users without change permission (read-only):
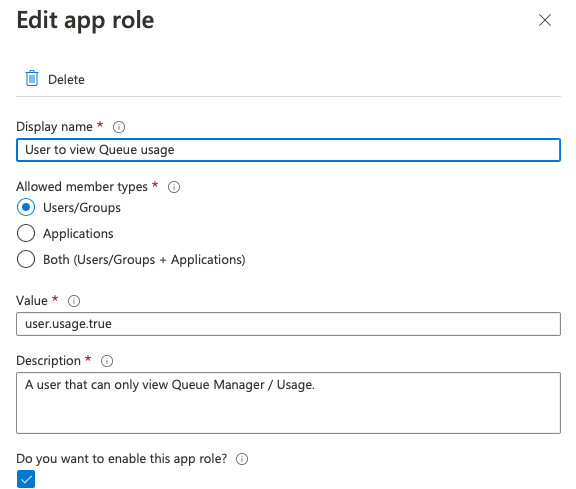
Let’s say you have a type of user that should only view the Queue Manager / Usage section of all routers:
After you have created all required app roles, you’ll see them on the overview page:

Protect your App (important)
For now, everyone can access your app and gets default permission. To protect the app so that only users with an assigned app role can access your app you need to set a certain flag.
In the left menu click on Enterprise applications:

Click on swiftmqexplorer:

Click on Properties:

Choose Yes for Assignment required?

At the top of the page click on Save:

The app is now limited to users with an assigned app role.
Create Users
First of all, we need some users. They can be created in the top-level menu Users:

For this example, we have created four well-known users: John, Paul, George, and Ringo. They will get app roles assigned:

Another user will not have an app role assigned to test whether access is forbidden:

Assigning App Roles to Users
Go back to the menu entry Enterprise applications and click on swiftmqexplorer. Click on Users and groups in the left menu:

Click on Add user/group:

It will open a page where you can select users and an app role:
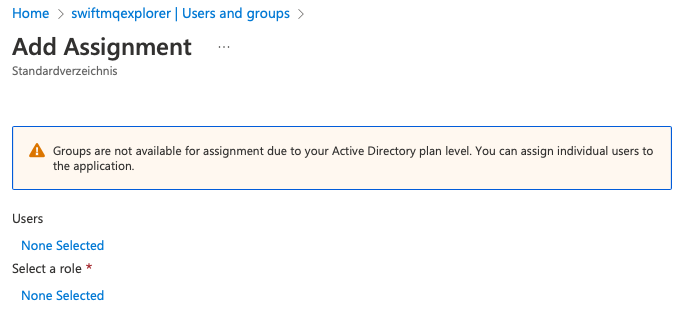
Click on None Selected below Users. It opens a pane on the right to select a user:
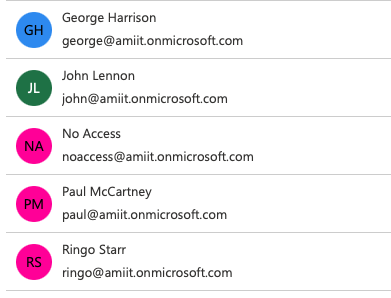
Select John Lennon and click on the Select button.
Next click on None Selected of the role. It opens a right pane with the available roles:
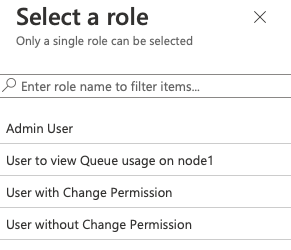
Select Admin User and click the Select button.
Click on the Assign button:

John Lennon has now the app role Admin User.
Repeat that with the following assignments:
Paul McCartney: User with Change Permission
George Harrison: User without Change Permission
Ringo Starr: User to view Queue usage
Your final assignments should look like this:

Granting Admin Consent (important)
Go to Enterprise applications, and click on swiftmqexplorer. In the left Security menu click on Permissions:
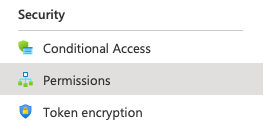
Click on the Grant admin consent button:

This ensures that your users can access the app without requesting permission from an administrator.
Data you should have saved
The SwiftMQ Explorer App is now fully configured in Azure AD. You have four users with different permissions. Along the way you should have saved:
Client ID
Client secret
Configuring other Flow Director Apps for SSO
The configuration of other Flow Director apps for SSO like SwiftMQ Monitoring App or SwiftMQ CLI App is similar, except that you don’t need to configure the <view>.<readonly> part of the Value of an app role. You only need to configure the <menu>. Here, you have two choices: admin and user.
The user menu of the SwiftMQ Monitoring App has the name operator.
