Terminal
Executing the help command will show you all possible commands:
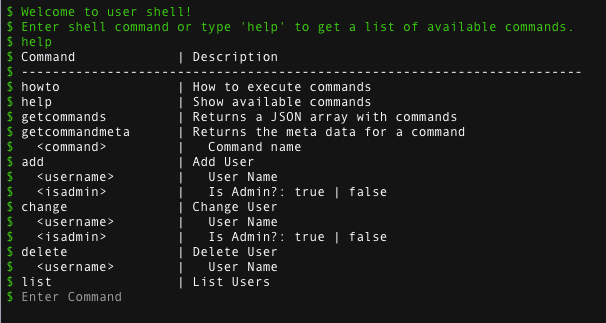
You may execute some commands to become familiar with the shell.
Flows
Switch over to the Flow Orchestrator to see all flows of this app:
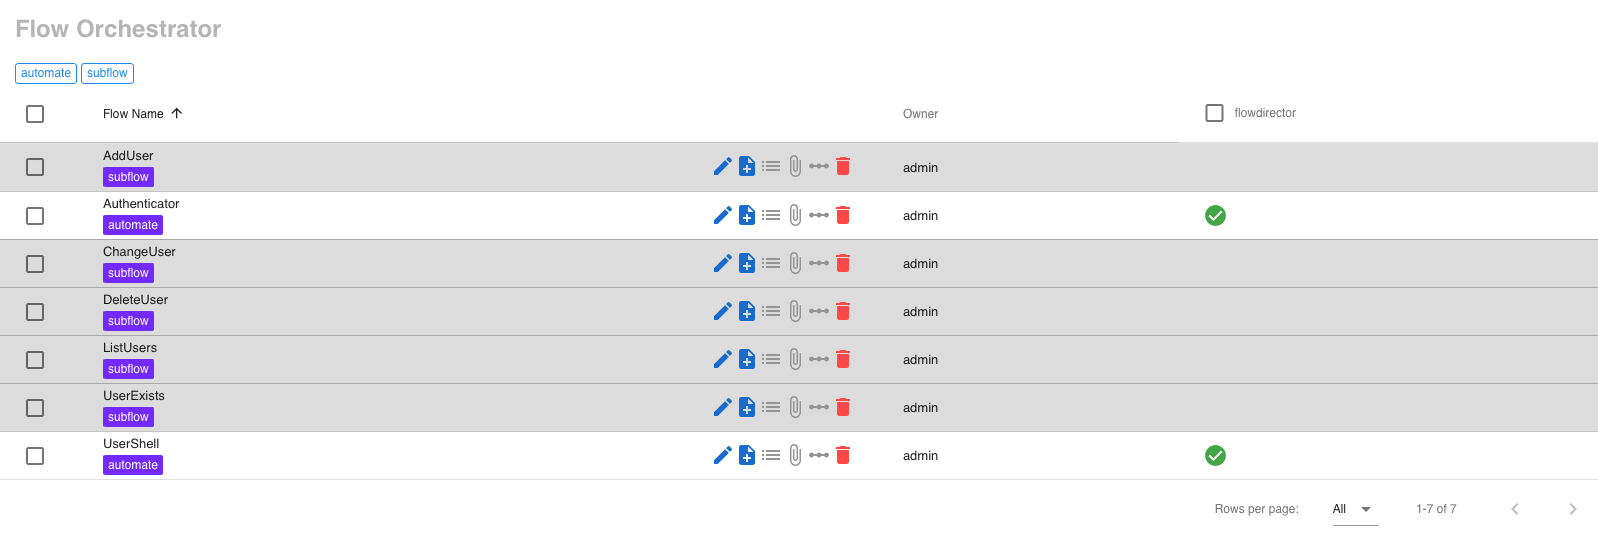
Flow UserShell implements the shell and uses a subflow for every shell command. Flow Authenticator is a custom authenticator flow for REST and will be discussed later. Both have the tag automate which starts the flows automatically when the app is installed.
UserShell
Phases of a Shell
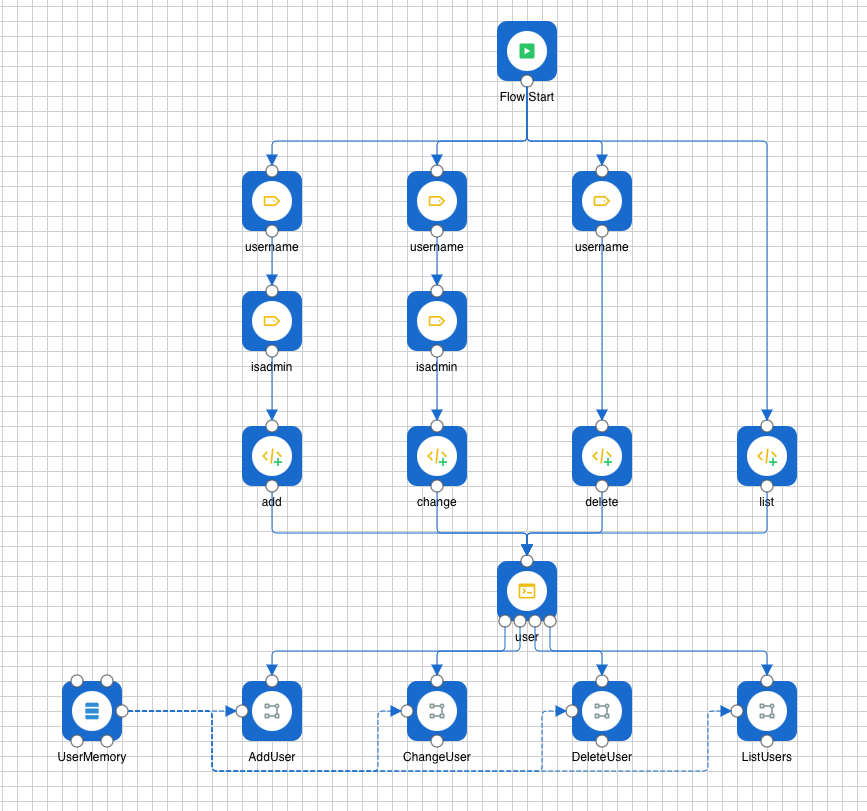
There are two phases of a shell:
-
Creation of the shell
-
Shell command execution
The creation of the shell takes place on flow start. For example, the outer left part executes the definition of the username and isadmin shell command parameters; the shell command definition add and passes that to the shell component, which stores the definition. The same takes place for all other commands. After this phase, you can attach a Terminal dashboard component to it without any command handlers and can execute help to see the available commands.
You then add a command handler for each shell command, and the shell executes it when the command is issued.
Make a Shell Command REST-aware
Click on a shell command component to see its properties:
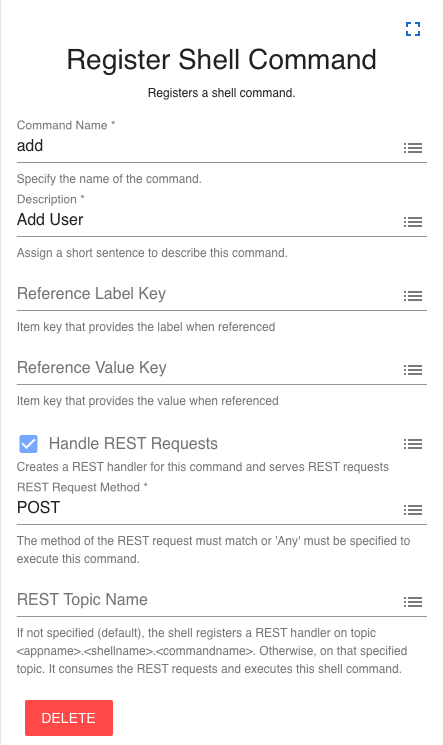
It is configured to handle REST requests with a POST method. That’s actually all you have to do to turn a shell command into REST-aware.
Authenticator
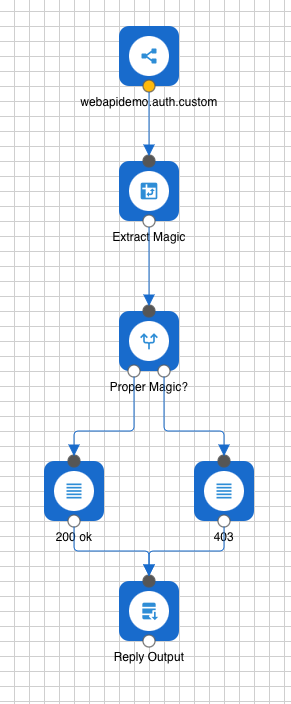
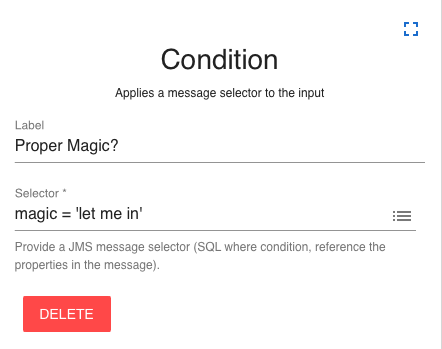
This is a simple flow that is used if the Web API uses custom authentication. You can use this method to authenticate users against a custom database, for example. For demonstration, the above flow extracts property magic out of the JSON message body and verifies whether it has the proper value to pass authentication:
REST Routes
Switch to the Web API to see all defined REST routes:
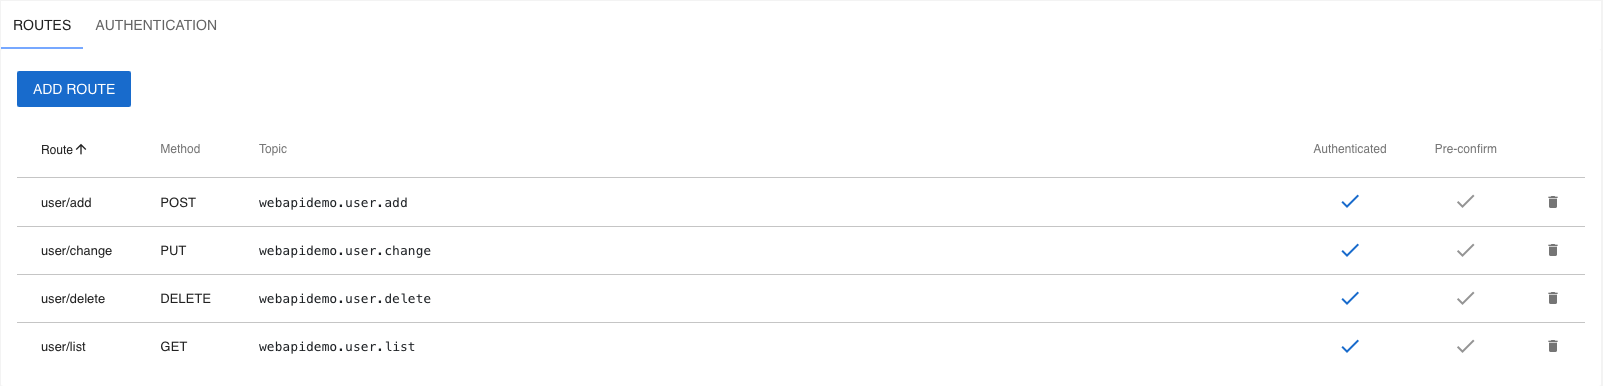
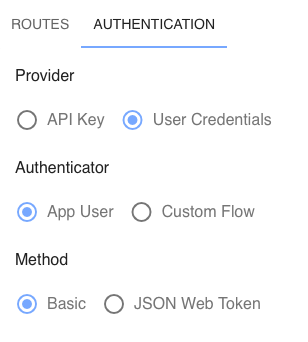
A route for a REST-aware shell command must be <shellname>/<commandname>. In our case, user/add and so on. All routes have the authentication flag set and therefore require the authentication defined under tab AUTHENTICATION:
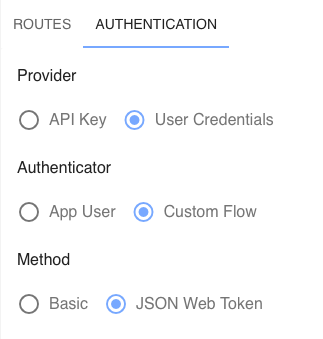
We have defined user credentials with a custom flow via JWT.
Test with Postman
Postman is an easy way to test your REST routes. Install it from here.
To access a Flow Director REST route, you must use this URL:
<hostname>:<port>/api/<appname>/<route>
JWT
If a route is protected with JWT, you first need to acquire a JWT token from this route:
<hostname>:<port>/api/<appname>/auth/token
by issuing a POST call with a JSON body set to whatever is requires to authenticate. Our custom Authenticator flow requires a property magic set to “let me in”:
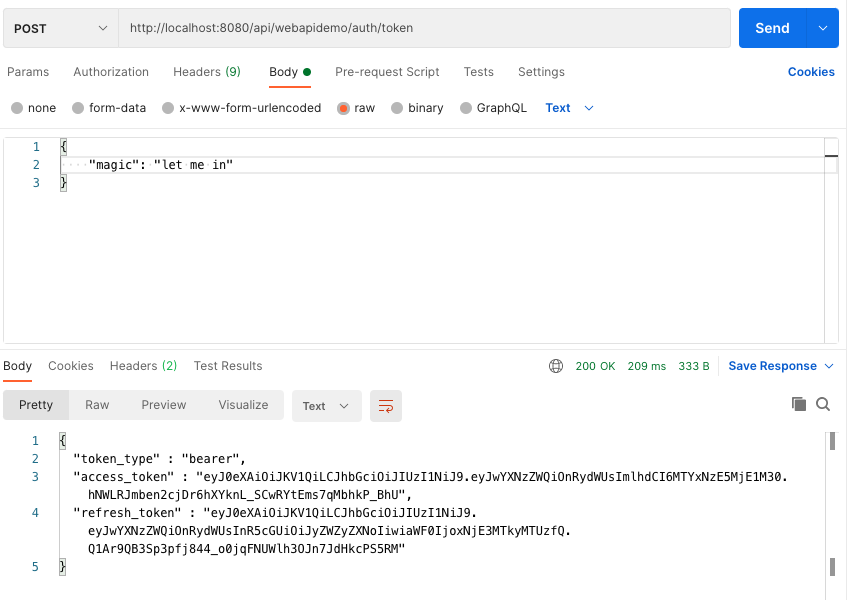
This returns a token under access_token you will use to authenticate calls to the user shell. Copy this token and create a new request for the user/add route. Define the token as a Bearer token:
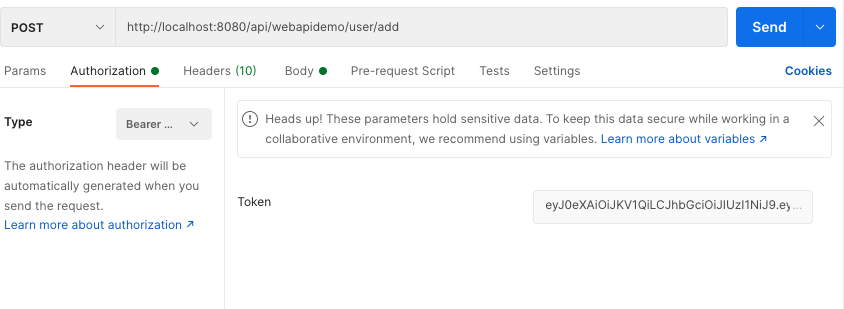
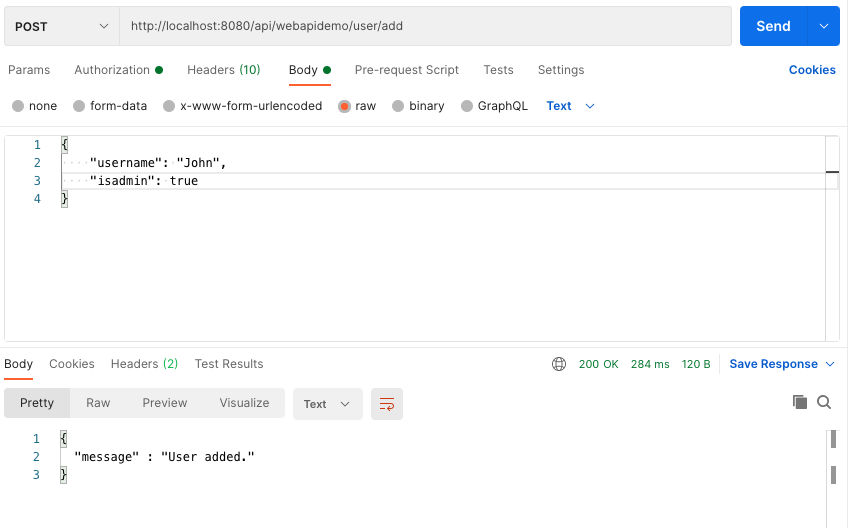
Then define the JSON body to add a new user:
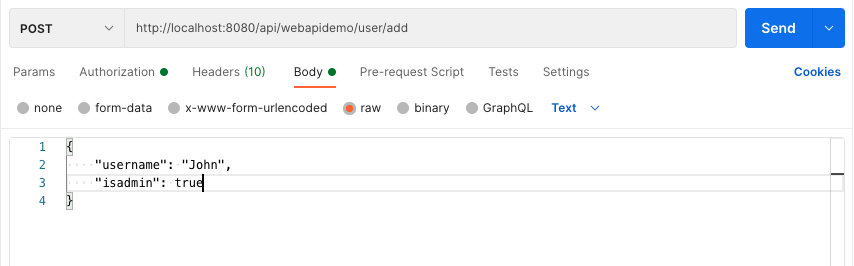
And issue the command:
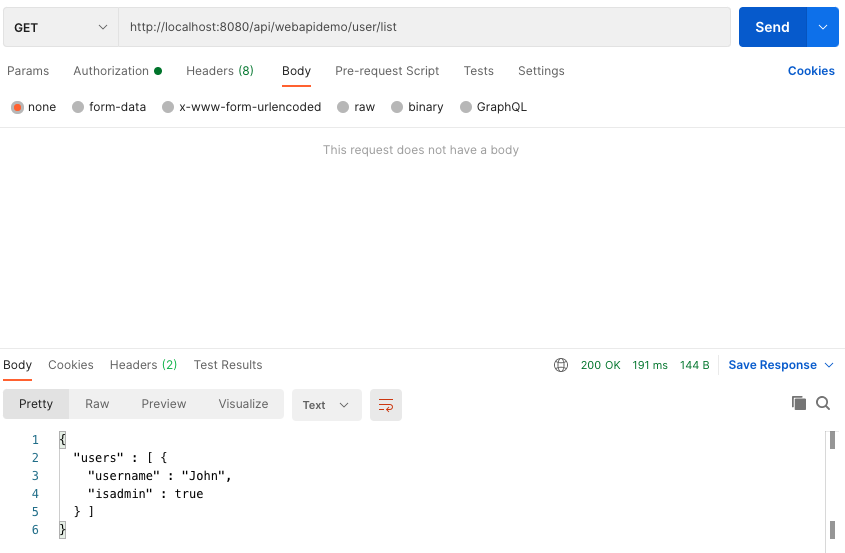
Issue a list command with GET to see the users (use the same token):
API Key (Static Authentication)
To use this method, change the AUTHENTICATION settings:
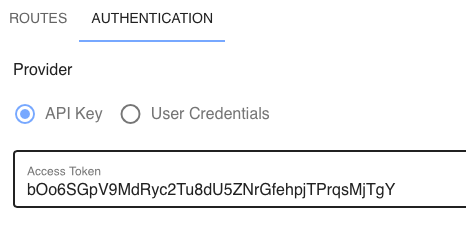
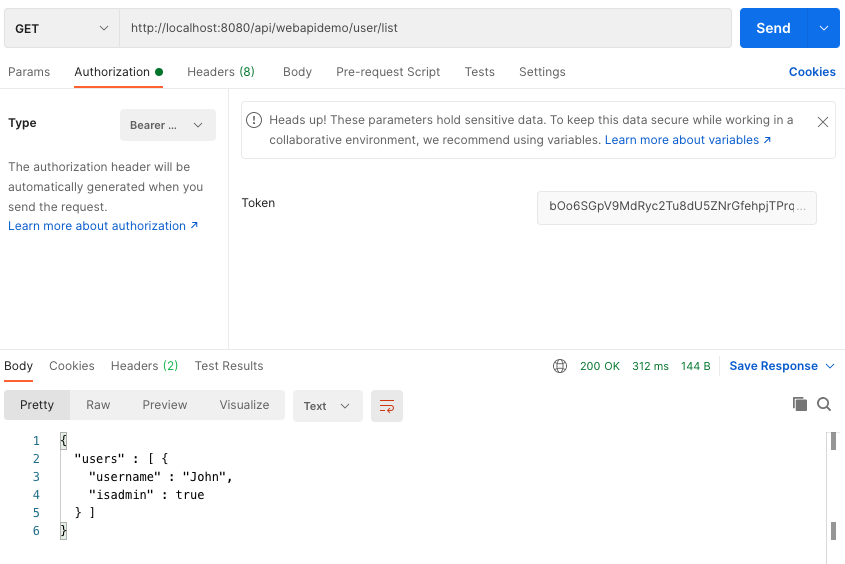
Then copy the access token and define it as Bearer token in Postman:
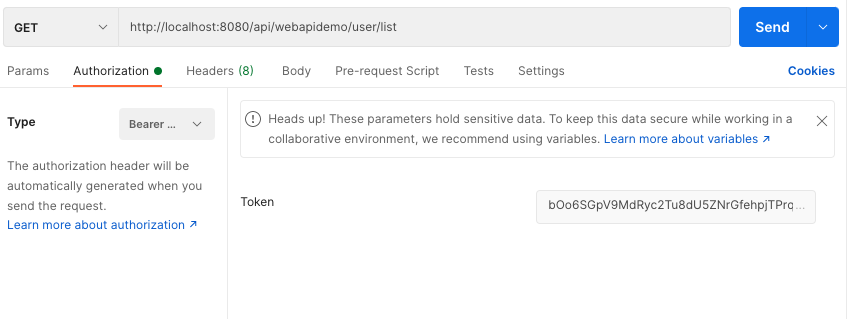
Then execute it:
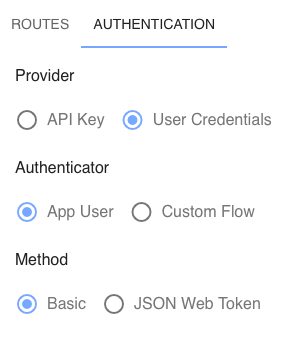
User Credentials / App User
This method authenticates the requests as a login to the app:
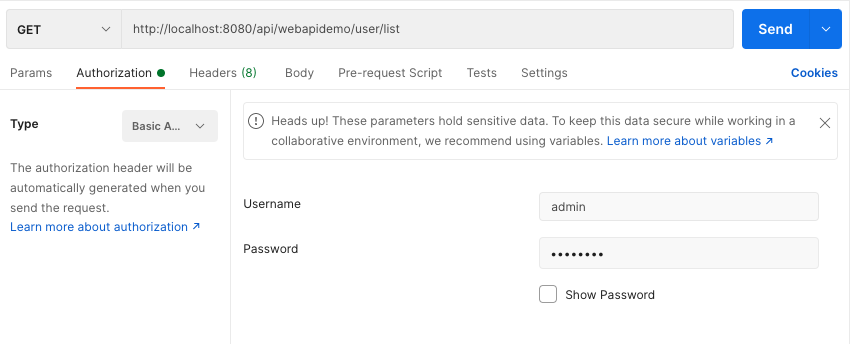
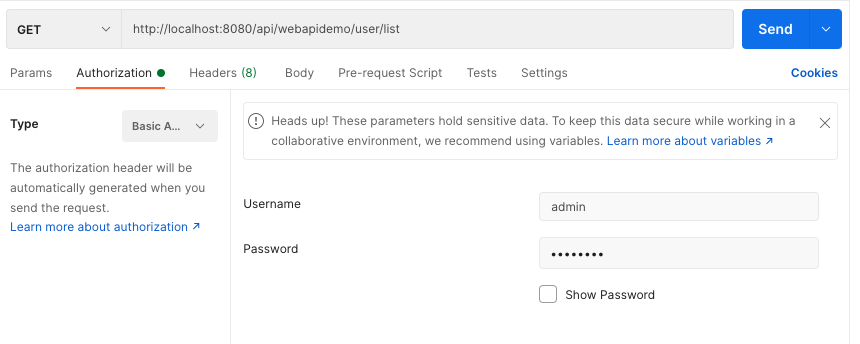
You specify username and password as Basic authentication in Postman:
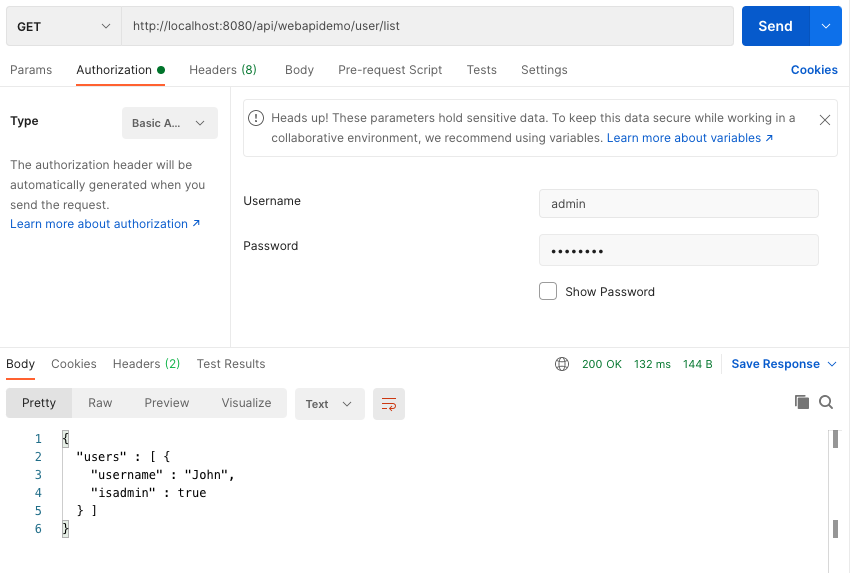
Then execute it:
User Credentials / Custom Flow
This method requires a flow similar to the JWT flow that authenticates username and password against a custom database:
You specify username and password as Basic authentication in Postman: