
Quick Setup
Login
Select SwiftMQ / SwiftMQ Bridge from the app selector:
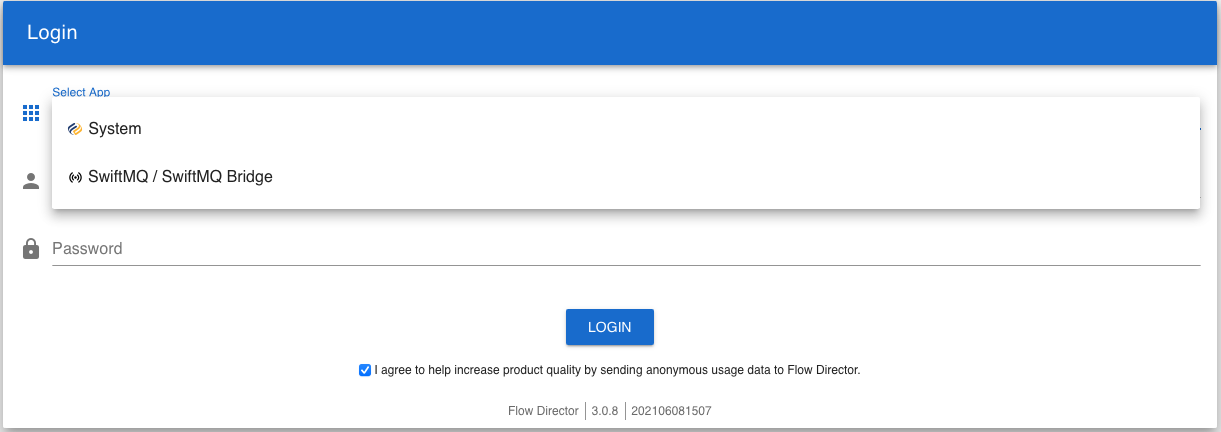
The default user is admin with password changeme.
Enter your License Key
The first login to the app requires entering a license key. If you don’t have one yet, you can purchase it right here:

Setup Wizard
A wizard will guide you through the initial setup on the first login. You can activate the wizard for reconfiguration anytime later from the toolbar.
Create a Destination Bridge
A bridge is created between any combination of queue and topic of a source and a target SwiftMQ Router. This can be the same router or different, local or cloud-based routers, HA or non-HA. This example bridges queue orderqueue of one router to topic orders on another router:
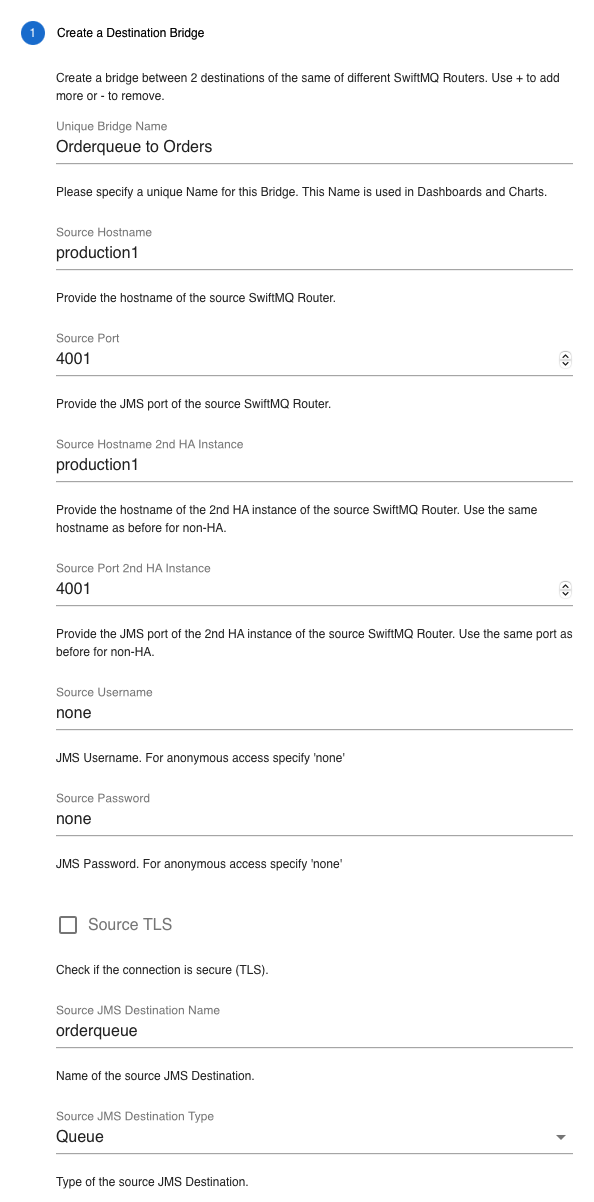
You first define a unique bridge name that is used in dashboards.
The source runs on host production1 and is non-HA. You specify the same host and port values for the 2nd HA instance.
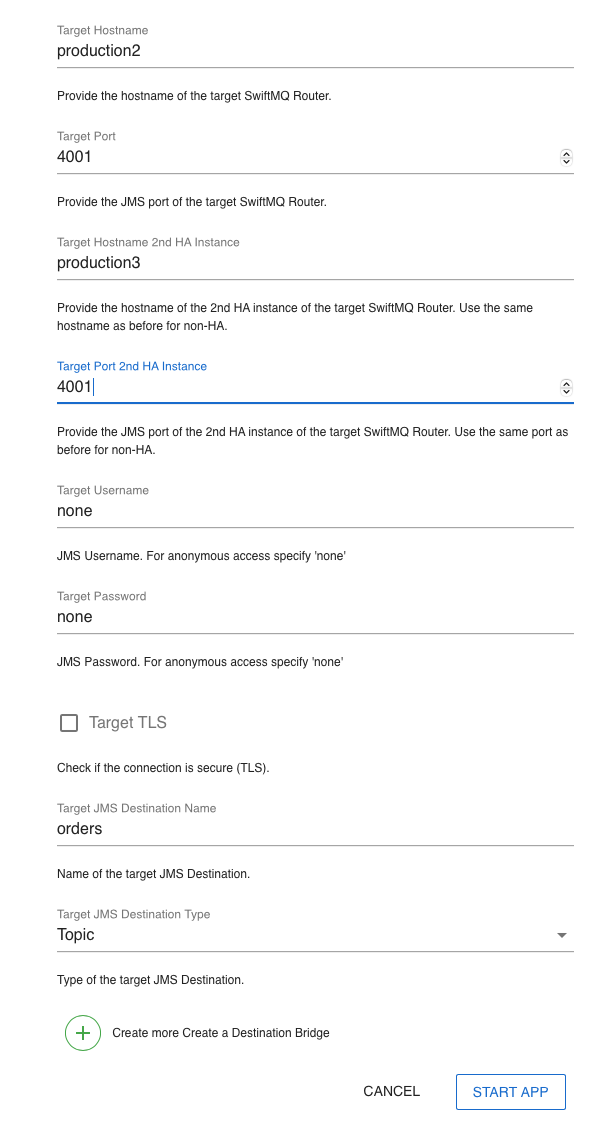
The target router is a HA router that runs on host production2 and production3. You specify that accordingly and the app will automatically failover
That’s it.
You can create more bridges by clicking the + button:

Remove a Destination Bridge
Click on

to remove a destination bridge.
Start the App
After finishing your setup, you can start the app by pressing START APP:

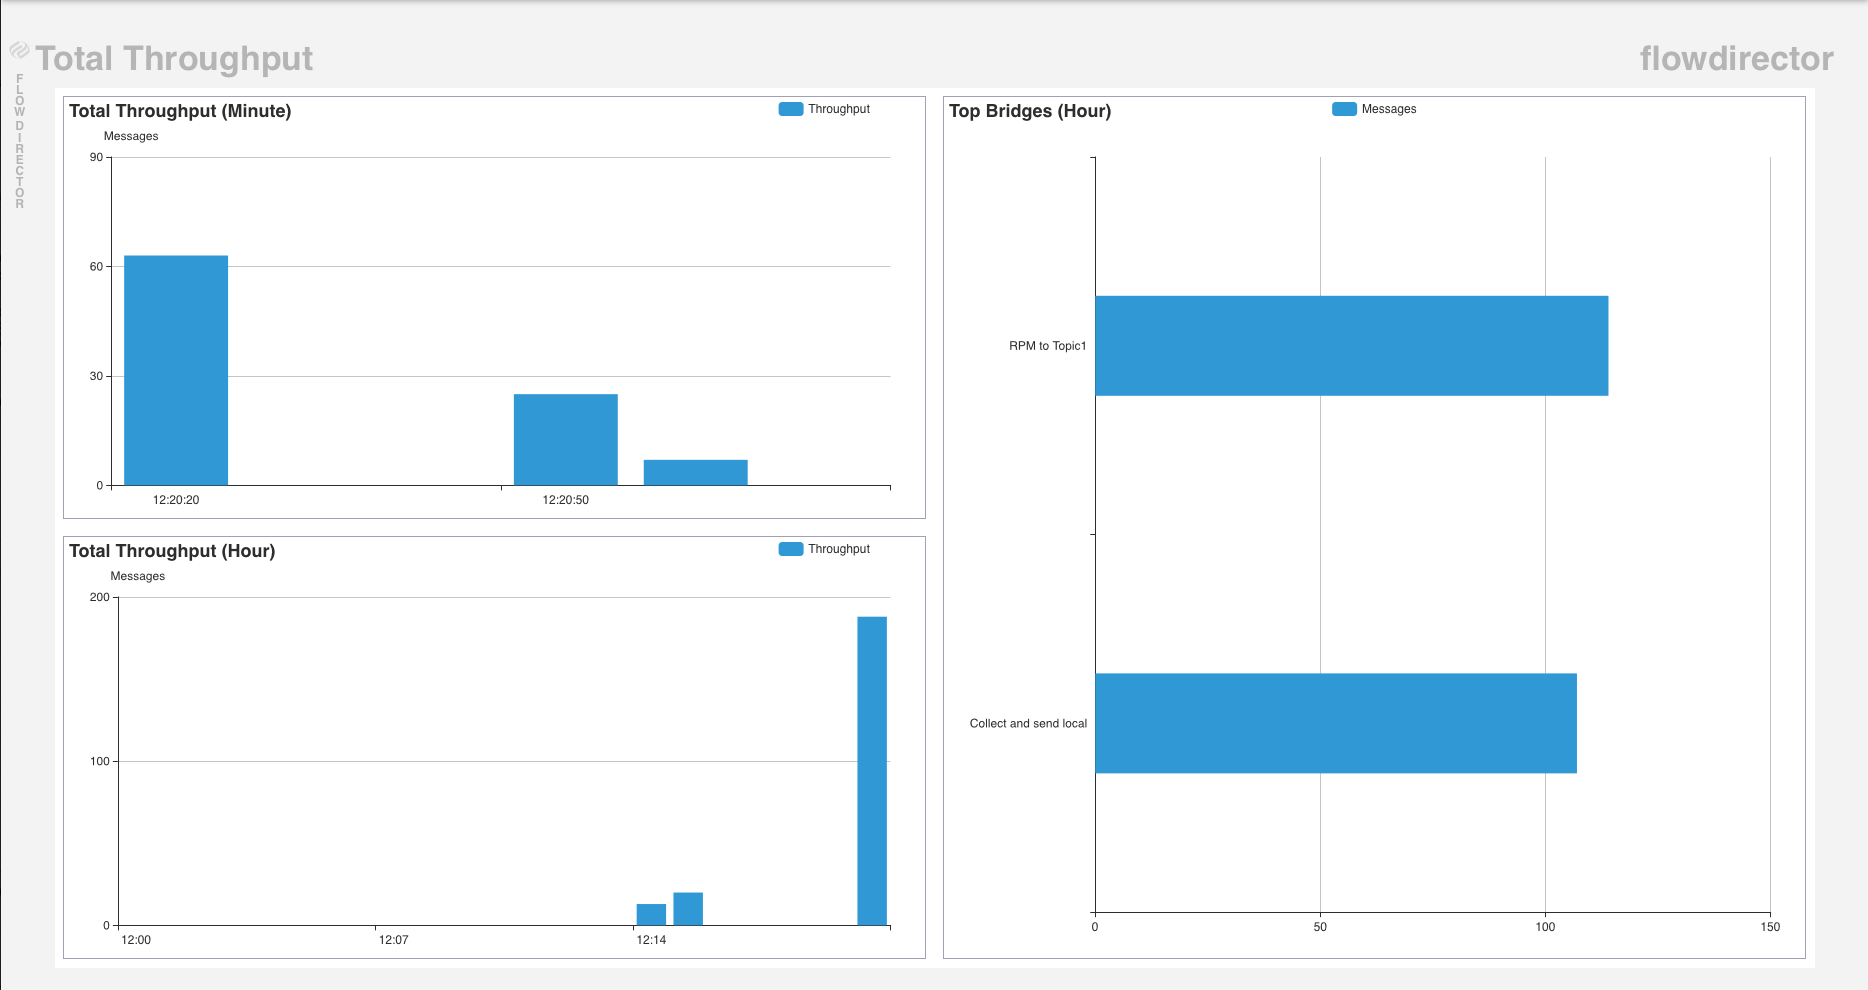
It displays the Total Throughput dashboard and you might already see your bridges in action:
Starting and Stopping the App
The app is started after the initial configuration. This can be seen at this button in the toolbar which displays green:

Press it to stop the app:

To start it, press it again.
Reconfiguration
To change your configuration, press this button:

It launches the wizard and you can apply your changes. Then press UPDATE APP:

It restarts the app with the new settings.
Change your Password
You can change your password here:
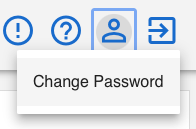
You are being logged out after a change and have to login again.