
Login
Select Realtime Process Monitoring for SwiftMQ from the app selector:
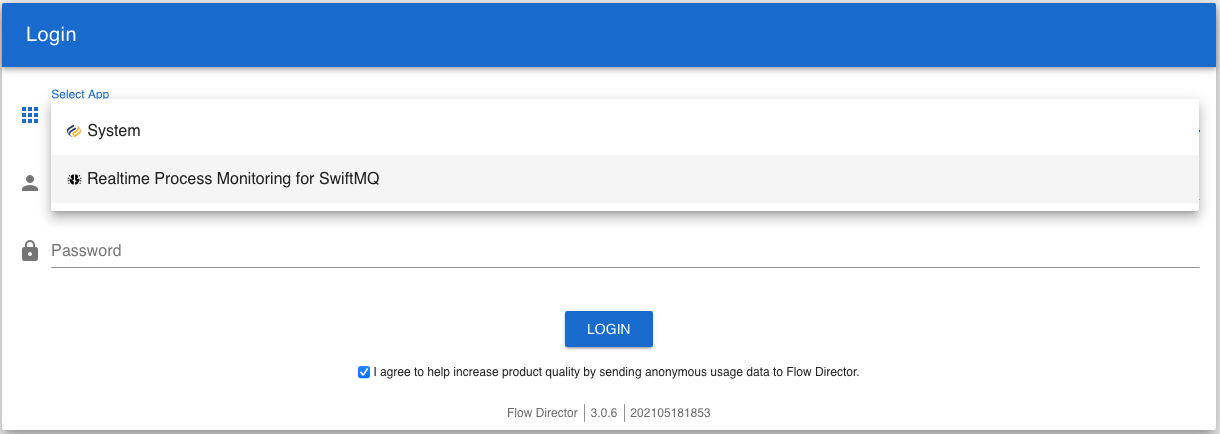
The default user is admin with password changeme.
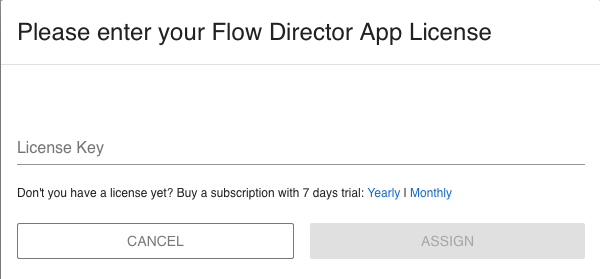
Enter your License Key
The first login to the app requires entering a license key. If you don’t have one yet, you can purchase it right here:
Setup Wizard
A wizard will guide you through the initial setup on the first login. You can activate the wizard for reconfiguration anytime later from the toolbar.
SwiftMQ Inbound Topic
The first step is to configure the SwiftMQ inbound topic to receive events:
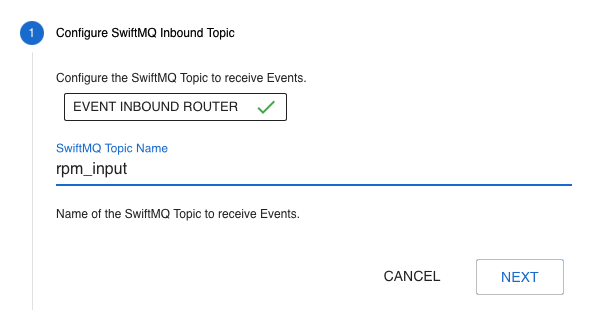
Click on the EVENT INBOUND ROUTER button to configure the SwiftMQ connection:
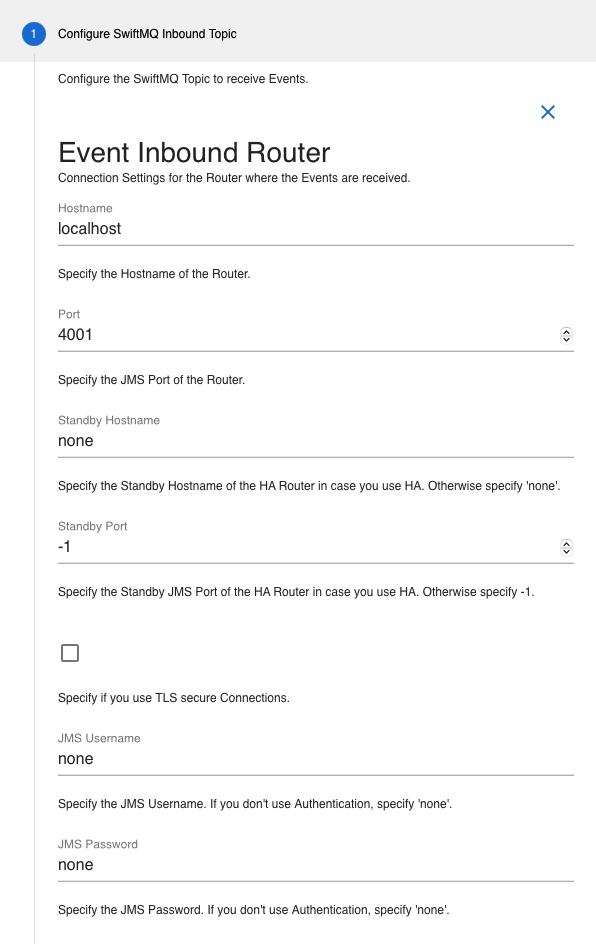
The app creates a JMS bridge to this SwiftMQ router. It can be the same (as above) or a different router.
Click the X button to close this panel.
Process Analyzer
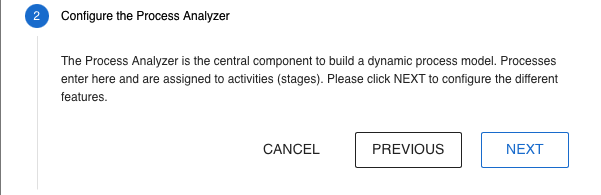
You can now configure the features of the process analyzer step by step. Either click NEXT or click on the header of a step to configure it:
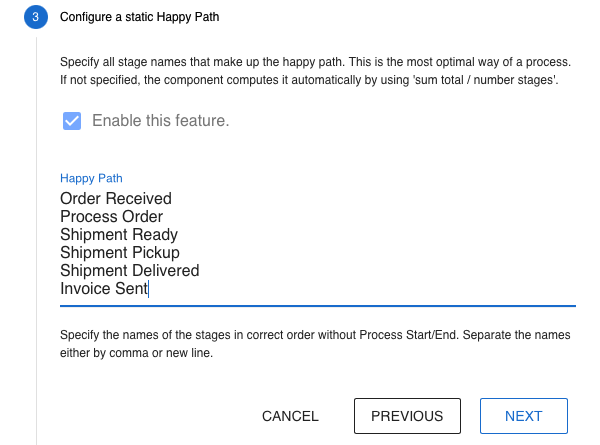
Static Happy Path
You can optionally define a static Happy Path to create a reference path for all processes. All variants of this path are shown as deviations. If you don’t define it, the Happy Path is built dynamically.
Process Start Stages
Usually, a process has a defined start. You can define these start stages in this step. Defining start stages avoids seeing incomplete processes that are somewhere in the middle of processing when you start the app:
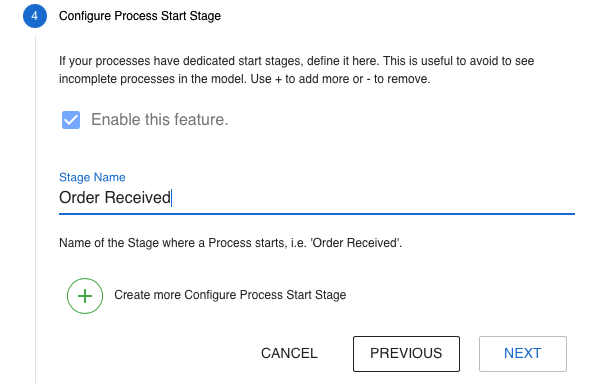
In this example, we use our warehouse example to define Order Received as a start stage. If your processes can have multiple start stages, you can define them by clicking on the + button.
Process End Stages
If your processes end at dedicated stages, define it here:
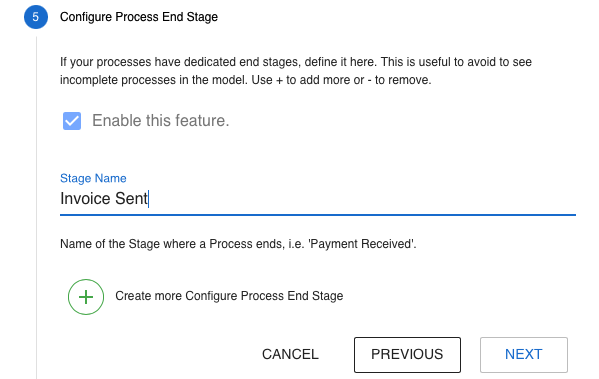
In our case, the process ends with sending the invoice. If you don’t define end stages, you’ll need to define a stage expiration (next step). Otherwise, your processes will stay at the last reported stages forever.
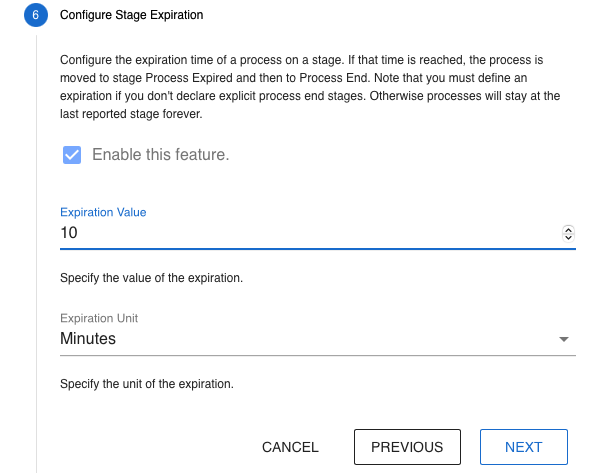
Stage Expiration
Defining a stage expiration is necessary if your processes don’t have a defined end stage. It avoids that they stay at the last reported stage forever.
Event: Stage Created
This step configures events when a stage is created. The events are sent to a SwiftMQ topic:
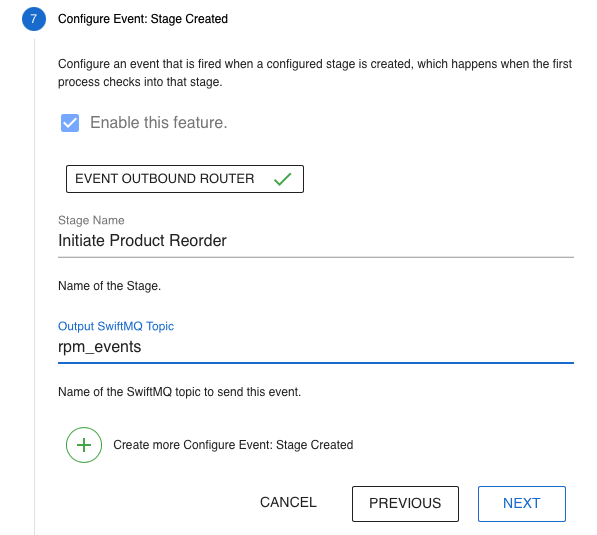
Click on EVENT OUTBOUND ROUTER to configure the outbound SwiftMQ router to send events:
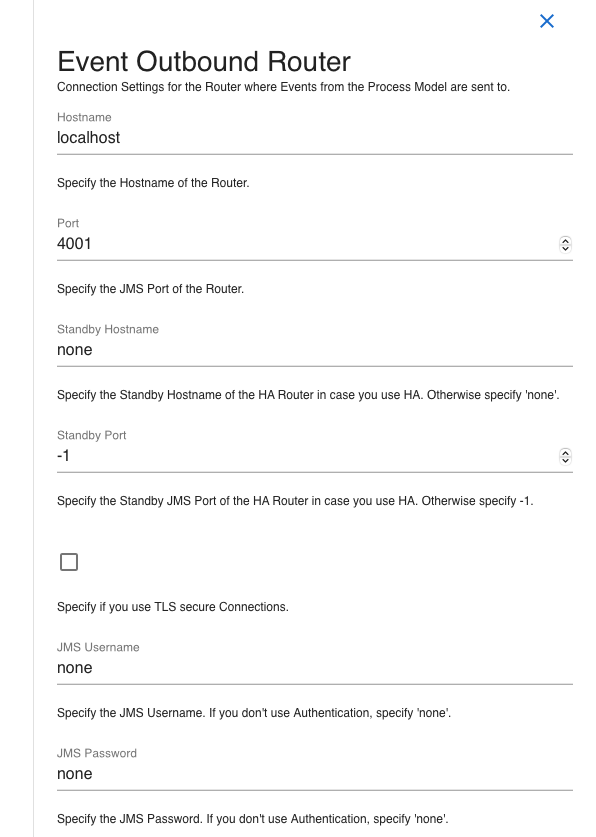
This can be the same or a different SwiftMQ router than the one receiving events.
Click on X to close this panel.
Event: Stage Checkin
This step configures events when a process checks into a stage. The events are sent to a SwiftMQ topic.
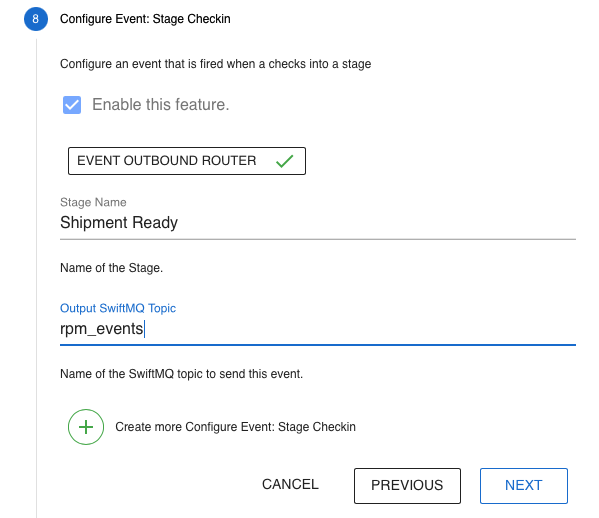
In this example, we might want to get informed when a process enters Shipment Ready to inform the delivery service to pick it up.
See Stage Created for the description of EVENT OUTBOUND ROUTER.
Event: Stage Checkout
This step configures events when a process checks out from a stage. The events are sent to a SwiftMQ topic.
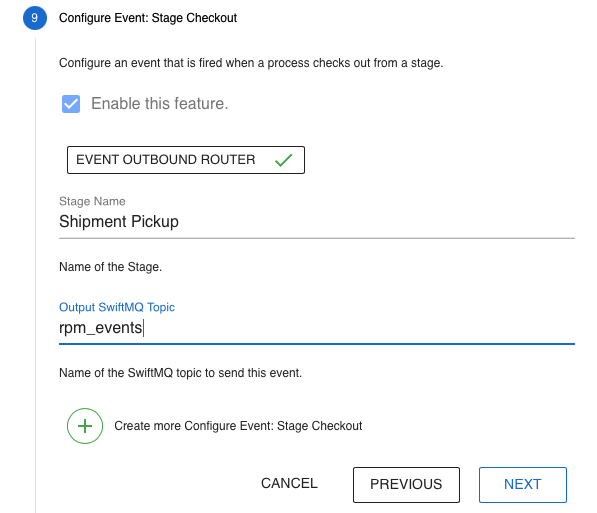
In this example, we might inform the customer that his order is on its way.
See Stage Created for the description of EVENT OUTBOUND ROUTER.
Event: Link Created
This step configures events when a link between two stages is created. The events are sent to a SwiftMQ topic.
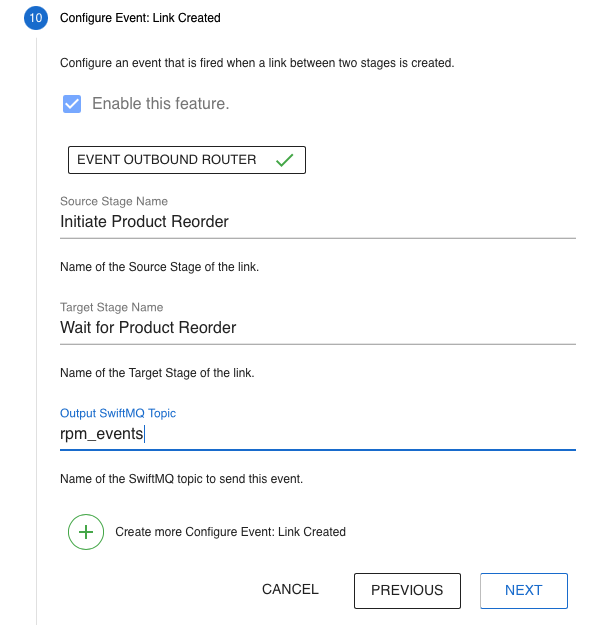
See Stage Created for the description of EVENT OUTBOUND ROUTER.
Event: Link Travel
This step configures events when a process travels on a link. The events are sent to a Pulsar topic.
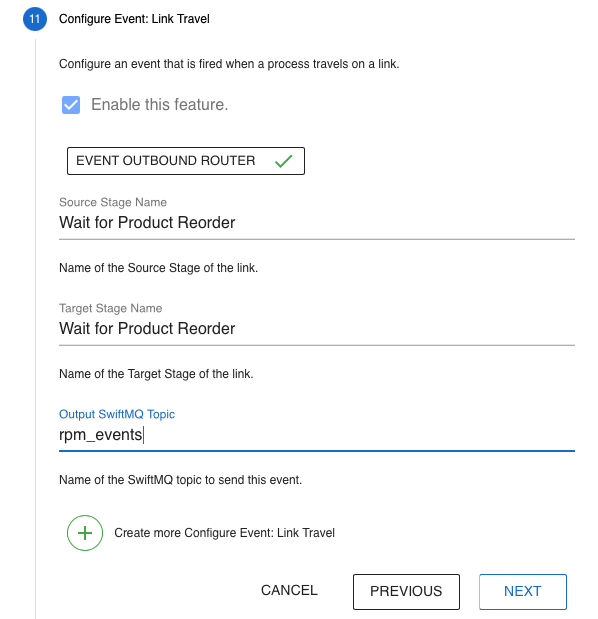
In this example, we want to get informed that a process waits multiple times on a reorder and start an investigation about the reason.
See Stage Created for the description of EVENT OUTBOUND ROUTER.
Event: Alert
This step configures alert events when a process stays at a stage too long. The events are sent to a Pulsar topic.
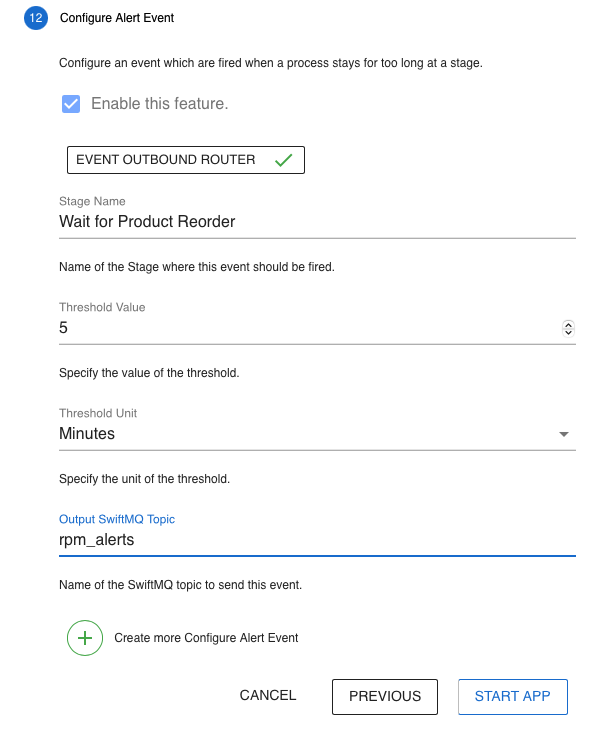
In this example, we might want to get informed when a process waits too long for a reorder and might inform the producer of the product.
See Stage Created for the description of EVENT OUTBOUND ROUTER.
Start the App
After finishing your setup, you can start the app by pressing START APP:

It displays the Overview dashboard and you might already see your events coming in:
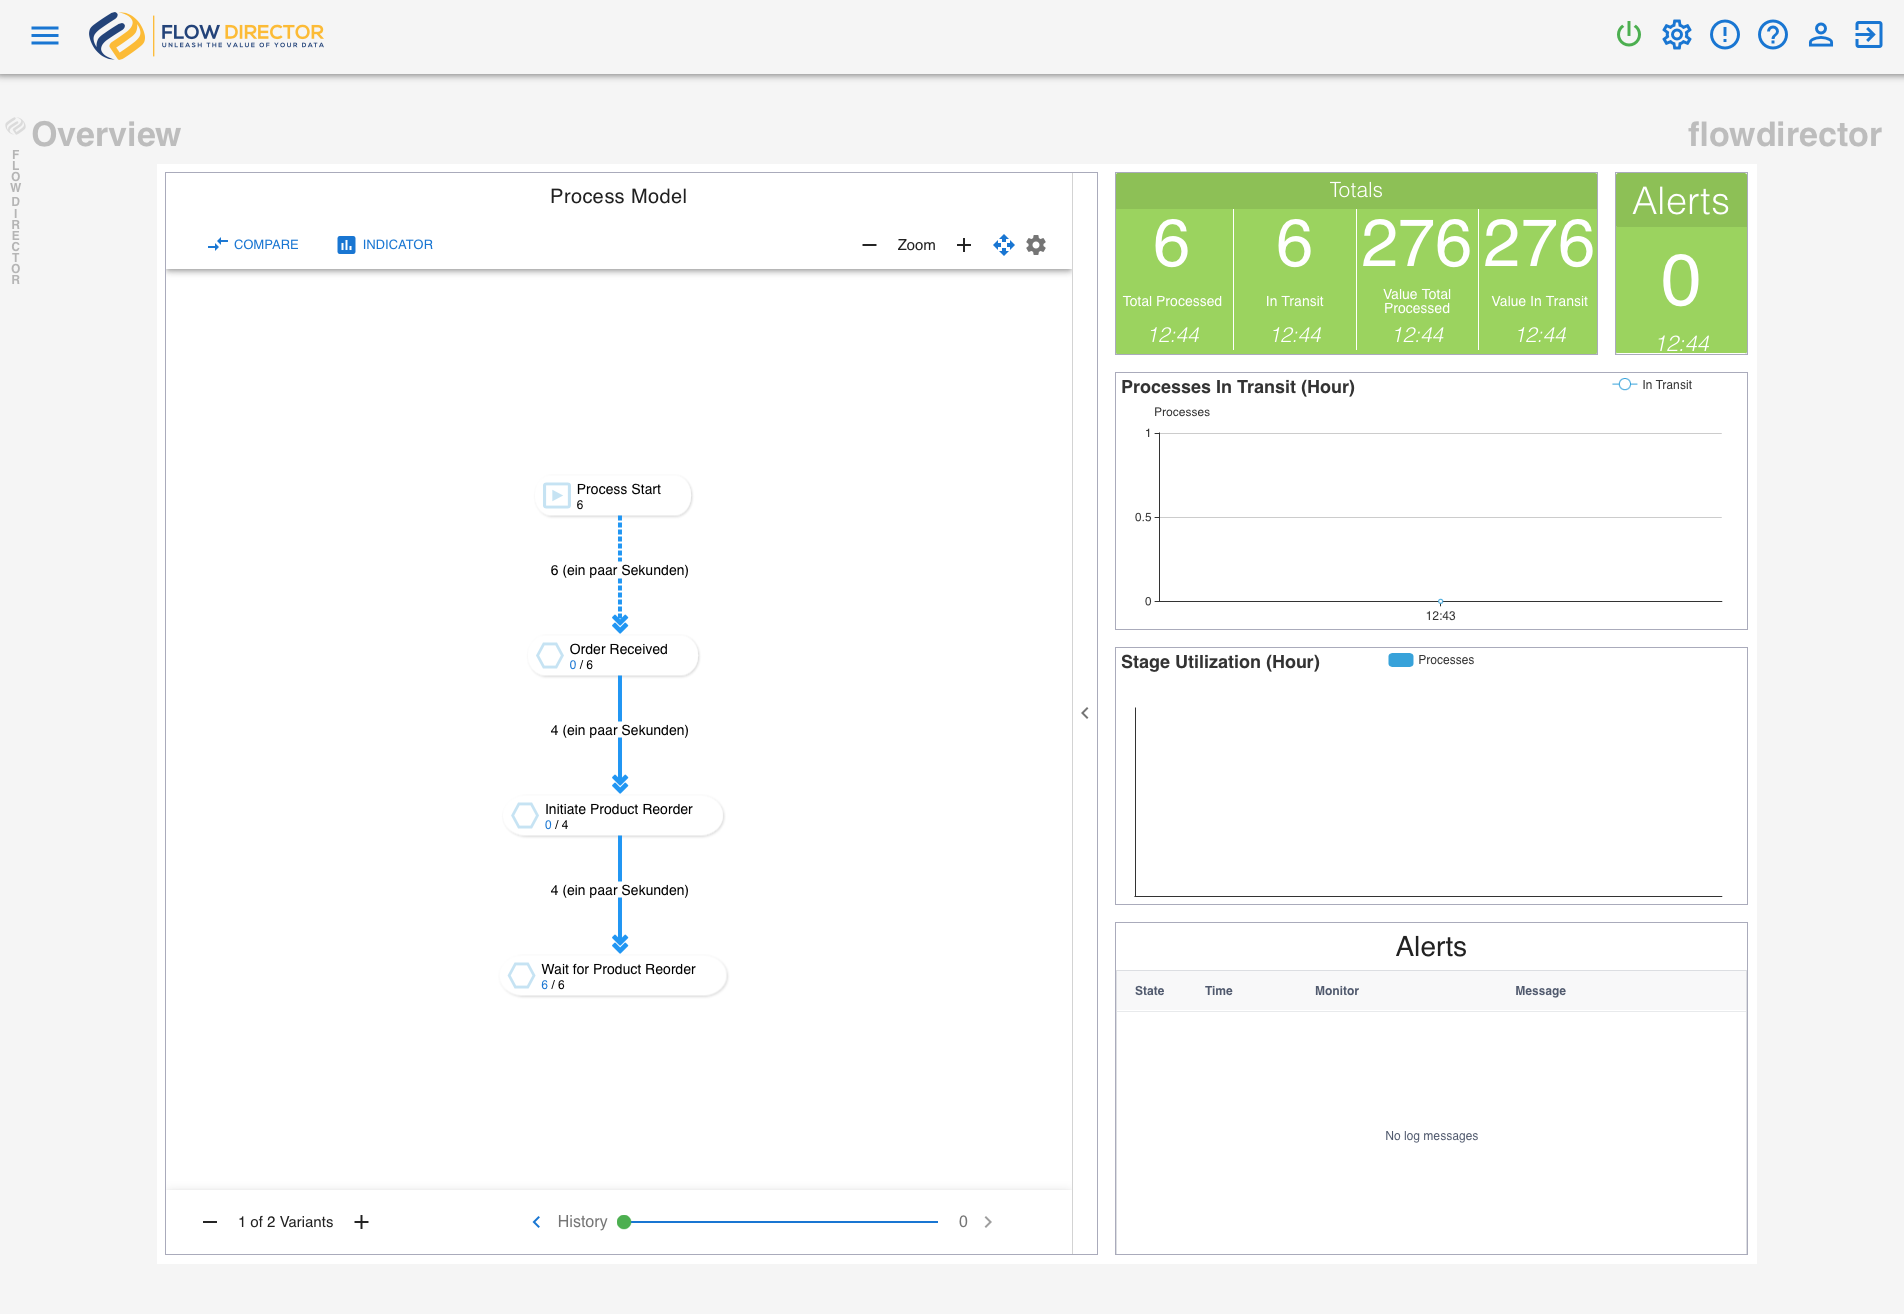
In this example, we forward the events from the Warehouse Simulation Sample app to this app via Pulsar.
Starting and Stopping the App
The app is started after the initial configuration. This can be seen at this button in the toolbar which displays green:

Press it to stop the app:

To start it, press it again.
Reconfiguration
To change your configuration, press this button:

It launches the wizard and you can apply your changes. Then press UPDATE APP:

It restarts the app with the new settings.
Change your Password
You can change your password here:
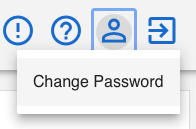
You are being logged out after change and have to login again.